Saturday 12 August 2017

MY JOURNAL: Filofax Clipbook


I used to have a journal, and I need a pre-printed diary and separate art journal. But being here there and everywhere in the last year I fancied something that could hold a journal, diary, notetaking and art journal sheets.

First I thought I might just get myself an A5 Filofax, and fill with my own paper. But after looking around, I still find they are all rather bulky which is why I stopped using them as diaries back in the day. So when I spotted the Filofax Clipbook, I was sold from first glance! Not only does the A5 version take ALL the normal Filofax (and copy-cat A5) inserts, it is easy to punch your own A5 sheets such as A5 sketchbook paper, copy paper and such into it using an A5 diary punch. And it lies completely flat and folds over! It's relatively easy to open the rings unless it is stuffed full. I have not one, but two, OHTO Tasche compact fountain pens (see photo above) attached to the floppy spine without issue! :)

The colour I have is the 'Duck Egg' which is new for 2017.

The Clipbook comes with a lot of different inserts already, such as blank diary sheets, plain, lined and square paper etc. But I wanted to pimp it to suit my needs, and because the paper that comes with it doesn't like fineliners and fountain pens, it had to go!

By accident found some nice inserts which are for the Simple Stories A5 planners, I use a set of dividers, and some very nice plastic moveable bookmarks. I will deal with the other hardware such as pens, paperclips and such in another post :) I also bought a planner band from a seller on Etsy to keep it more snug in my handbag, but I'm thinking I might make a zip-up planner bag at some point instead.

So what do I actually keep in my Clipbook?
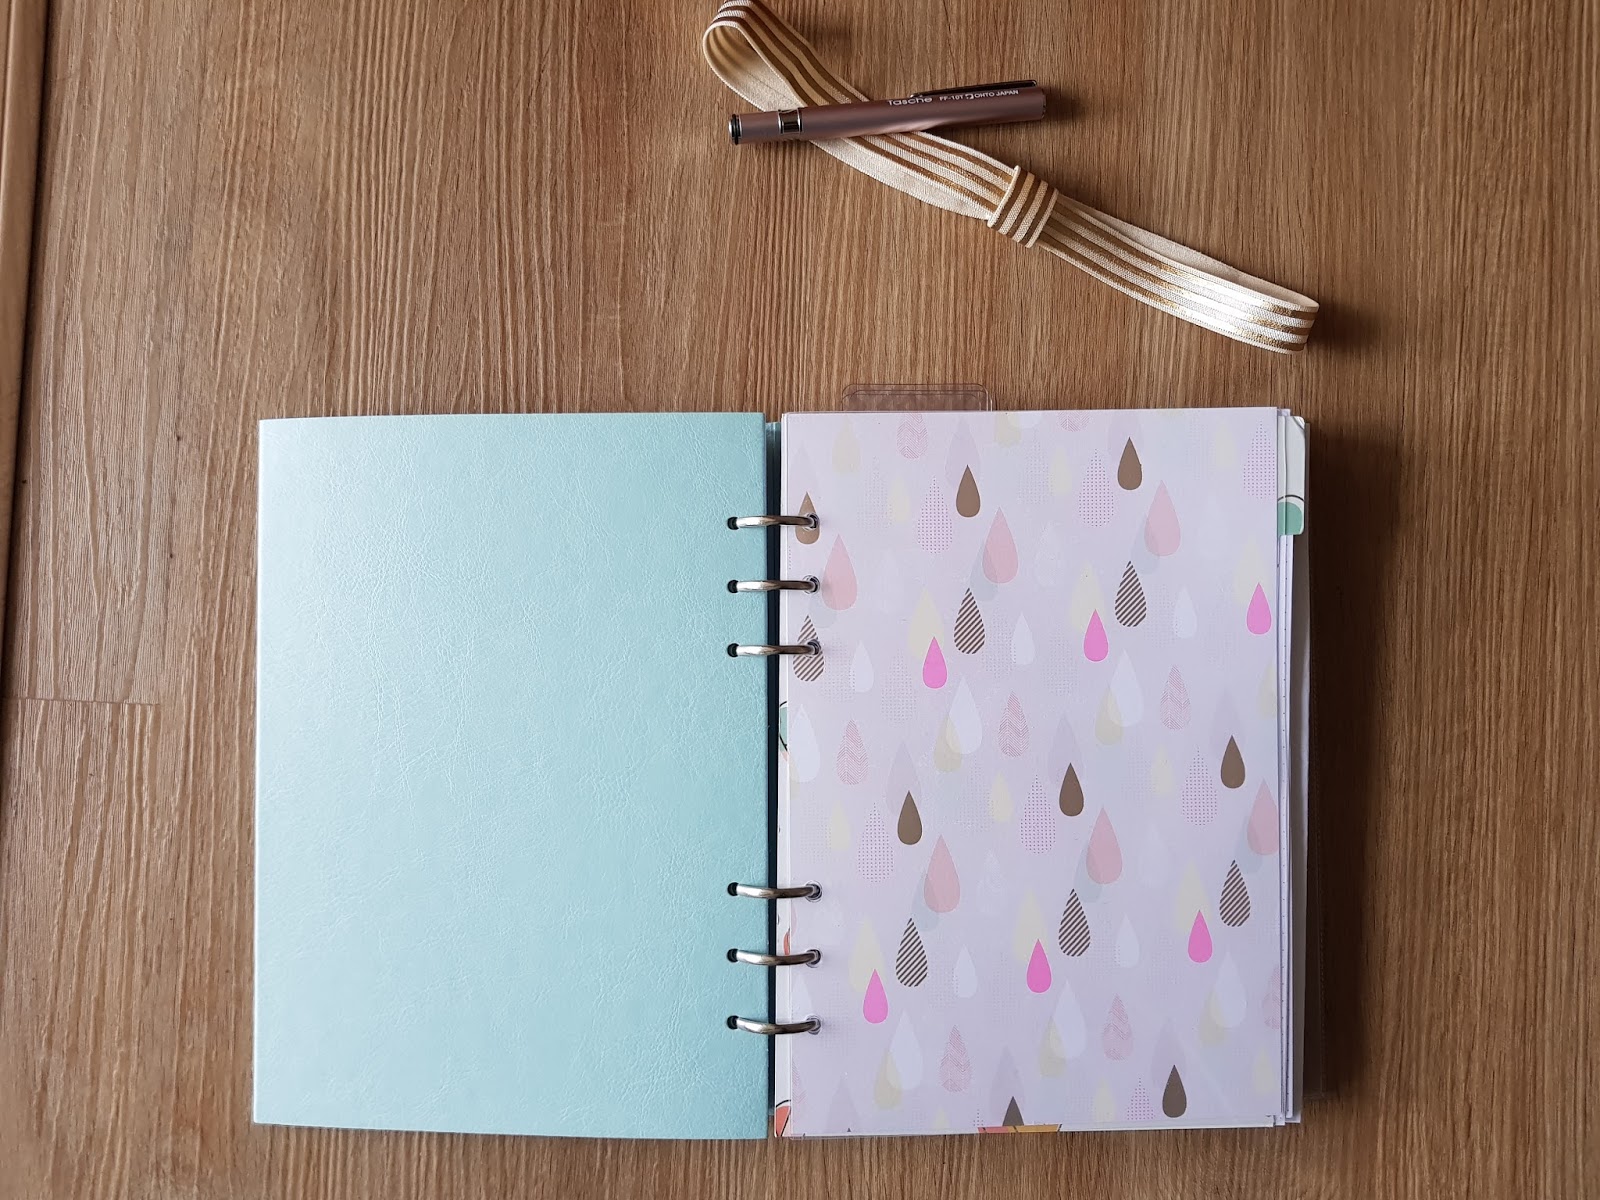


Splash page
Use the packaging for the Clipbook as a plastic front and back sheet! Instructions are on the packaging :)
I have a selection of decorative A5 card from a magazine, I think these designs are from Docrafts.
Always, always include contact info in case you do mislay your precious notebook! A reward sweetens the deal, but also be prepared to pay up!!


First section
My regular journalling notes. I use a variety of ways of dating, this wreath design being my favourite. This is the main part of my Clipbook. I use a dotted paper specifically for A5 planners from juniq paperworks which you can buy on Amazon, as it holds up to fountain pen/fineliners without bleed through or feathering.


Second section
Meeting notes; I use a pack of preprinted template sheets sold by Paperchase.
Rough notes; I use a cheap plain A5 copy paper I bought on eBay, which actually holds up to fountain pen!
In this section, I tend to pull out pages and file these after I have used them as they are just there for convenience of always having a notebook on the go. I file all my paperwork using themes, but that's for another post.

Third section
Art, and more art. I have punched holes in A5 sketchbook sheets and inserted here, along with some doodling prompt sheets.


Fourth Section
Diary - I use a preprinted 2 weeks to view format which I bought from WHSmith. In between the spread I insert a To-Do sheet, these ones came with the Clipbook. That means the weekly view is the diary and the to-do list for that week! I also have in here a year pull-out from Filofax for overview in here.


Plastic pocket
I always need a stash pocket, this is the Filofax top opening one for A5. It's slightly oversized for the Clipbook (normal A5 Filofax planners are bigger) but it's not an issue and at the back, it doesn't block access to pages. I keep smaller things in here such as my plastic ruler and glue dot sheets. I also appear to have a mini colouring in book! :)

I love my Clipbook! It's the perfect all in one for me, and it goes everywhere with me. What's your favourite planner/notebook/diary??

Wednesday 10 August 2016

REVIEW: Daler Rowney Aquafine Travel Set


I recently I totally got back into watercolour mixed media art and the crappy kids palette from Asda just wouldn't cut it anymore!

So I decided to invest in student grade materials and the first thing that caught my eye was the various sets from Daler Rowney Aquafine range. I find these are pretty hard to come by in the shops; they all seem to sell Winsor Newton Cotman sets or the Aquafine tubes but not sets or pans? I ordered this one off Amazon for about £10.

There are several Aquafine sets, but this 18 half pan set really took my fancy. It also comes with a short Aquafine Round 4 brush - excellent for detailed work in my adult colouring in books! I like it has a see through plastic card to tell you what the colours are as well.

But nothing beats putting paint to paper so I did a swatch sheet for this to show you the colours that came in my set. The colours are definitely a good selection but I would have preferred if the Ivory Black had been a Permanent Rose or Mauve instead but that's just me and the fact I paint botanicals. I may try and swap the black out from its well...

Daler Rowney Aquafine 18 half pan travel set

The colours are lusciously translucent yet highly pigmented! Being student grade some of the more expensive pigments have been substituted out for alternatives, colours indicated as 'hue', but all colours are all highly lightfast and very similar to the real deal!

Having swatched my tubes of Winsor Newton Cotman colours as well now, I definitely prefer the Aquafine solids. They have an amazing vibrancy to them and blend and bleed very well. And so portable!

I am bringing my set to Sweden for my holiday so I should have some project updates for you in the next couple of weeks on how these perform when used in Johanna Basford colouring in books and as plein air painting! I am going to dry in some Mauve and Permanent Rose from my Winsor Newton Cotman tubes in the empty blending wells for the trip to extend my colours for botanicals.

This is just a sample of a work in progress (WIP) I am doing with this travel set - just look at that colour!!


NOTE ON PAPER CHOICE:
I currently use Crawford and Black Watercolour Pad, 230gsm weight watercolour paper, which you can get for a steal in The Works (it's unclear whether it's hot press or not but it is rather rough). As I am hardly a professional and do a lot of mixed media, this is an excellent paper choice for me for a variety of projects.

Tuesday 9 August 2016

Ooops!

One of my recent creations!
I guess time makes fools of us all - I started this blog 4 years ago to keep a creative diary of the art and crafts I was creating but hey, I guess I was too busy creating to blog!! :)

So I am officially resetting.

I will now be updating regularly to showcase projects, do tutorials and reviews of products! Stay tuned for a watercolour travel set review this week, and a peek into my journal!

Friday 6 April 2012

Toy parrot restoration!

Last weekend, the Other Half discovered his precious parrot toy had faded badly in the window. He had also seen a couple of stone chips in the paintwork of his car, but his parrot friend turning grey was more upsetting! As the resident Crafter, I promised to restore his parrot using textile pens. I don't think he believed it would turn out well...

Before...

and after!
So please see before and after! The pens used were normal Edding 4600 textile pens, a grass green one on the body and a bright orange one for the beak and feet. I will try and get a light green and a yellow pen as well but there were none in stock at  my local Hobbycraft today. Dry and set the paints on with a hair dryer on the medium or hot setting. This toy is probably all polyester mix faux fur, but the colours have set perfectly using hairdryer!

The Other Half was stunned with the remarkable transformation and very happy! And the parrot now sits on his desk, far away from the window...

Saturday 17 March 2012

Elemental dragons!

I've made some Fimo elemental dragons, from middle and clockwise: Earth Dragon, Fire Dragon, flying Air Dragon and swimming Water Dragon. I am going to lacquer these with gloss and attach semiprecious gemstone chips to their backs.

These are easy to make - I always find designs come through as you are playing with the clay. I think I am going to make some nice brooches this weekend, I feel in the mood for jewellery making :)

Monday 13 February 2012

Art Journal: Mixed media WIP and Zentangles

I have been working on the drawing with me and my cat Elvis for some time, I added a felt heart today left over from making my Valentine's card :) This is a style inspired by Carla Sonheim's whimsical watercolours, I just love them. I am still working on this page, I keep finding things to add to it. The drawing is made with ink outliner (I use Sakura Pigma Micron 01) and coloured with a mix of Staedtler Karat watercolour pencils and Derwent Inktense pencils.

I have been working on my Zentangles too - I am still learning! I am not sure I will add to this tangle, I kinda like how it looks like some weird octopus...

You can see some of my nail art too in the bottom left corner.

Monday 6 February 2012

Love letters!

I had these papier mache letters lying round for about a year before I got creative at the weekend :)  The L is decorated with Decopatch paper, the O is painted with Decoart Crafters Acrylic Dazzling Metallics in 'Festive Green', the V is decorated with ripped up newspaper pieces and lacquered and the E is painted with while acrylic paint with heavy brush strokes and has little pink felt hearts glued on. I hung it above the bed, but the Other Half is afraid the E will fall on his head in the night :)